Tutorial 1 - Your first app
We\'re ready to create our first application.
Install the BeeWare tools
First, we need to install Briefcase. Briefcase is a BeeWare tool
that can be used to package your application for distribution to end
users - but it can also be used to bootstrap a new project. Make sure
you\'re in the beeware-tutorial directory you created in
Tutorial 0 <tutorial-0>, with the
beeware-venv virtual environment activated, and run:
:::::::: {.tabs} ::: {.group-tab} macOS
::::::: {.group-tab} Linux
::: {.admonition} Possible errors during installation
If you see errors during installation, it\'s almost certainly because
some of the system requirements haven\'t been installed. Make sure you
have installed all the platform pre-requisites
<install-dependencies>.
:::
::::
:::: {.group-tab} Windows
::: {.admonition} Possible errors during installation
It is important that you use python -m pip, rather than a bare pip.
Briefcase needs to ensure that it has an up-to-date version of pip and
setuptools, and a bare invocation of pip can\'t self-update. If you
want to know more, Brett Cannon has a detailed blog post about the
issue.
:::
::::
::::::::
Bootstrap a new project
Let\'s start our first BeeWare project! We\'re going to use the
Briefcase new command to create an application called Hello World.
Run the following from your command prompt:
:::::: {.tabs} ::: {.group-tab} macOS
:::::: {.group-tab} Linux
:::::: {.group-tab} Windows
::: ::::::Briefcase will ask us for some details of our new application. For the purposes of this tutorial, use the following:
- Formal Name - Accept the default value:
Hello World. - App Name - Accept the default value:
helloworld. - Bundle Identifier - If you own your own domain, enter that domain
in reversed order. (For example, if you own the domain
\"cupcakes.com\", enter
com.cupcakesas the bundle). If you don\'t own your own domain, accept the default bundle (com.example). - Project Name - Accept the default value:
Hello World. - Description - Accept the default value (or, if you want to be really creative, come up with your own description!)
- Author - Enter your own name here.
- Author\'s Email - Enter your own email address. This will be used in the configuration file, in help text, and anywhere that an email is required when submitting the app to an app store.
- Application URL - The URL of the landing page for your
application. Again, if you own your own domain, enter a URL at that
domain (including the
https://). Otherwise, just accept the default URL (https://example.com/helloworld). This URL doesn\'t need to actually exist (for now); it will only be used if you publish your application to an app store. - Project License - Accept the default license (BSD). This won\'t affect anything about the operation of the tutorial, though - so if you have particularly strong feelings about license choice, feel free to choose another license.
- GUI framework - Accept the default option, Toga (BeeWare\'s own GUI toolkit).
Briefcase will then generate a project skeleton for you to use. If you\'ve followed this tutorial so far, and accepted the defaults as described, your file system should look something like:
beeware-tutorial/
├── beeware-venv/
│   └── ...
└── helloworld/
    ├── CHANGELOG
    ├── LICENSE
    ├── pyproject.toml
    ├── README.rst
    ├── src/
    │   └── helloworld/
    │       ├── app.py
    │       ├── __init__.py
    │       ├── __main__.py
    │       └── resources/
    │           └── README
    └── tests/
        ├── helloworld.py
        ├── __init__.py
        └── test_app.py
This skeleton is actually a fully functioning application without adding
anything else. The src folder contains all the code for the
application, the tests folder contains an initial test suite, and the
pyproject.toml file describes how to package the application for
distribution. If you open pyproject.toml in an editor, you\'ll see the
configuration details you just provided to Briefcase.
Now that we have a stub application, we can use Briefcase to run the application.
Run the app in developer mode
Move into the helloworld project directory and tell briefcase to start
the project in Developer (or dev) mode:
:::::: {.tabs} ::: {.group-tab} macOS
(beeware-venv) $ cd helloworld
(beeware-venv) $ briefcase dev

[hello-world] Installing requirements...
...

[helloworld] Starting in dev mode...
===========================================================================
::: {.group-tab} Linux
(beeware-venv) $ cd helloworld
(beeware-venv) $ briefcase dev

[hello-world] Installing requirements...
...

[helloworld] Starting in dev mode...
===========================================================================
::: {.group-tab} Windows
(beeware-venv) C:\...>cd helloworld
(beeware-venv) C:\...>briefcase dev

[hello-world] Installing requirements...
...

[helloworld] Starting in dev mode...
===========================================================================
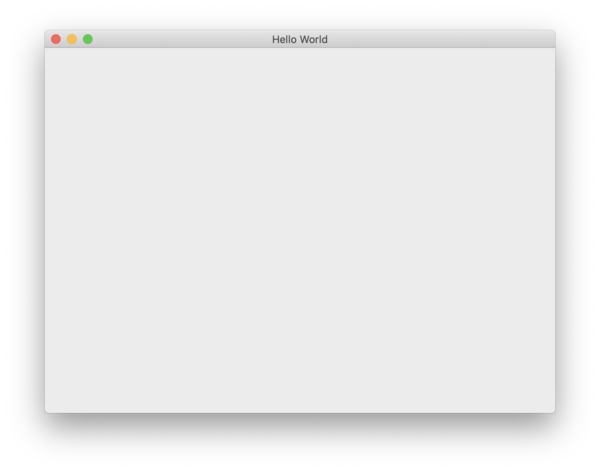
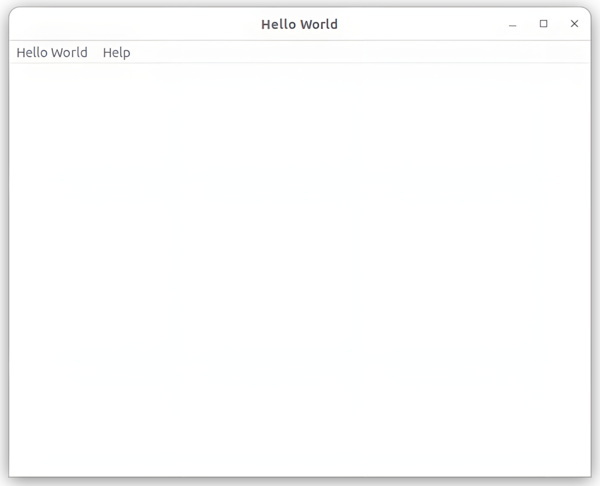
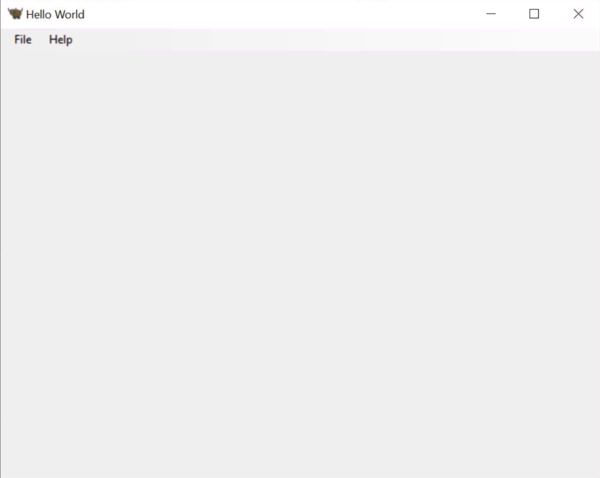
This should open a GUI window:
::::::: {.tabs} ::: {.group-tab} macOS
 :::
:::
::: {.group-tab} Linux
 :::
:::
:::: {.group-tab} Windows
::: {.admonition} Invalid requirements or pip unable to connect
If you encounter the error:
Unable to install requirements. This may be because one of your
requirements is invalid, or because pip was unable to connect
to the PyPI server.
Confirm that you are running a
version of python that this tutorial supports
<install-python>
.
If your version of python is not a supported version, you will have to restart the tutorial. ::: :::: :::::::
Close the application - either by pressing the close button on the
application window, by selecting Quit/Exit from the application\'s menu,
or by typing Ctrl+C in the terminal where you ran briefcase dev -
and you\'re done! Congratulations - you\'ve just written a standalone,
native application in Python!
Next steps
We now have a working application, running in developer mode. Now we can
add some logic of our own to make our application do something a little
more interesting. In Tutorial 2 <tutorial-2>{.interpreted-text
role="doc"}, we\'ll put a more useful user interface onto our
application.